 |
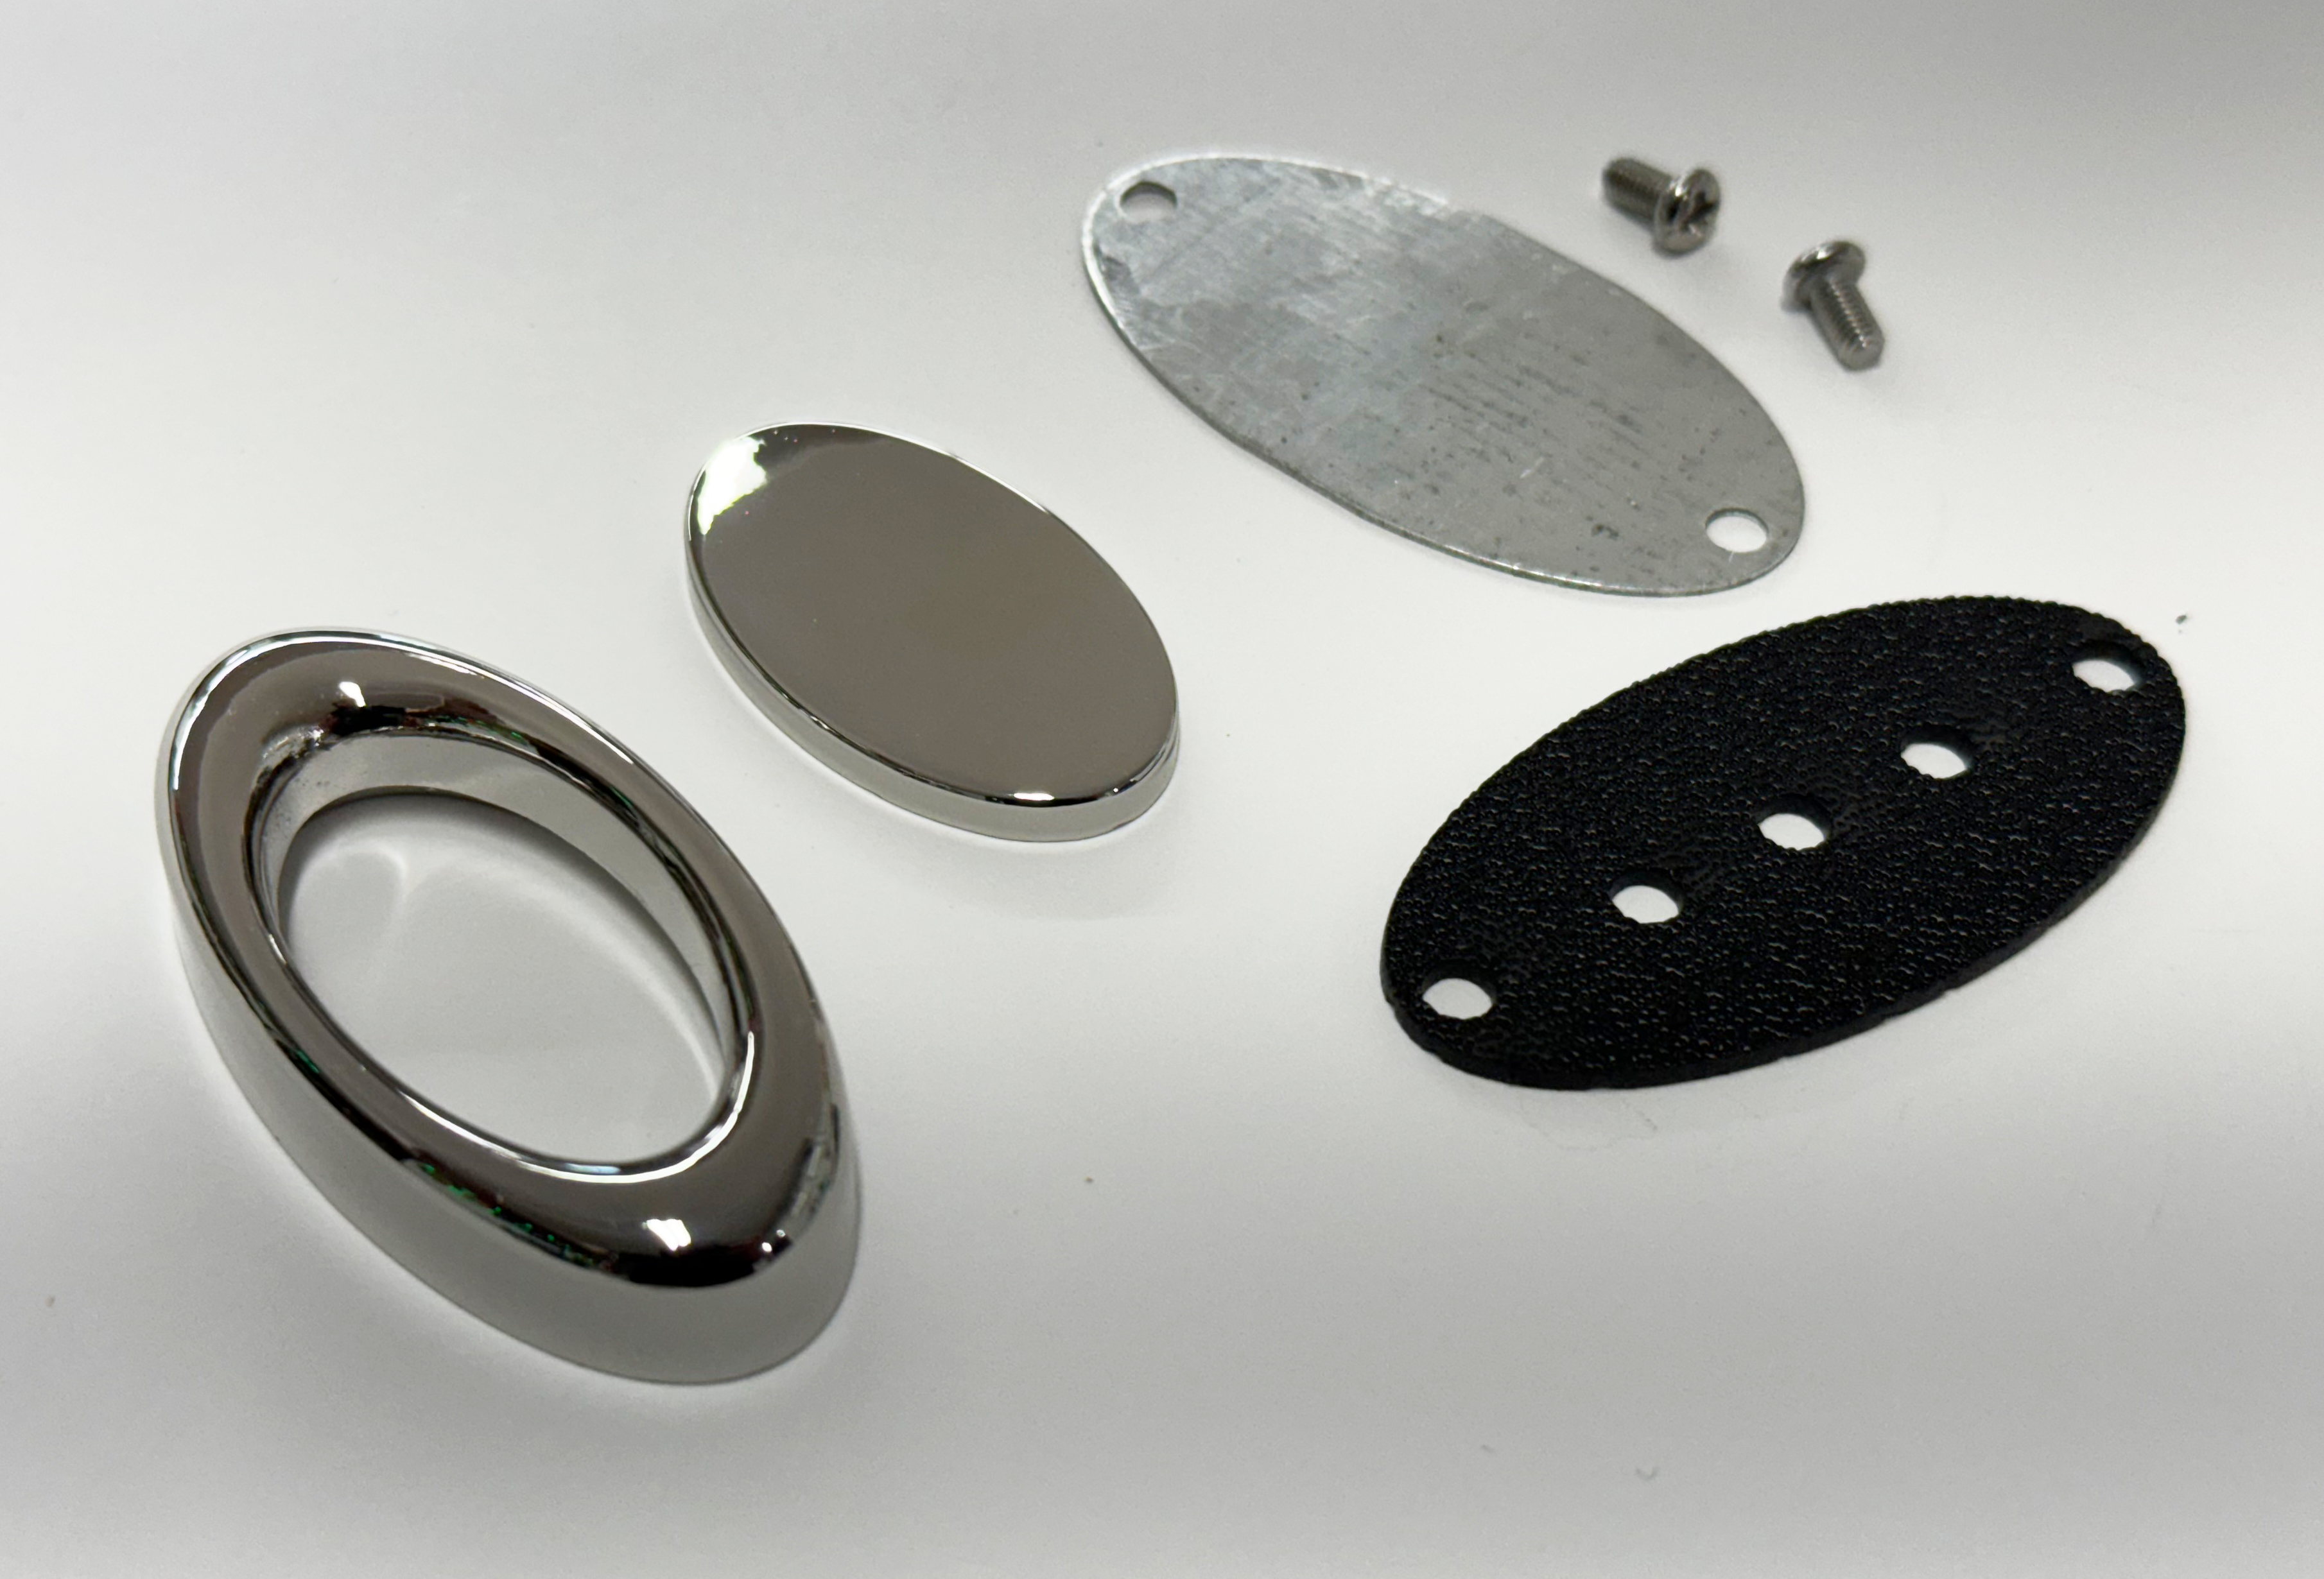
Our Two-Part Oval Medallions come with the outer bezel, the inner oval insert, two screws, and backing plate. *BACKING PLATE DESIGN MAY DIFFER FROM THIS PHOTO |
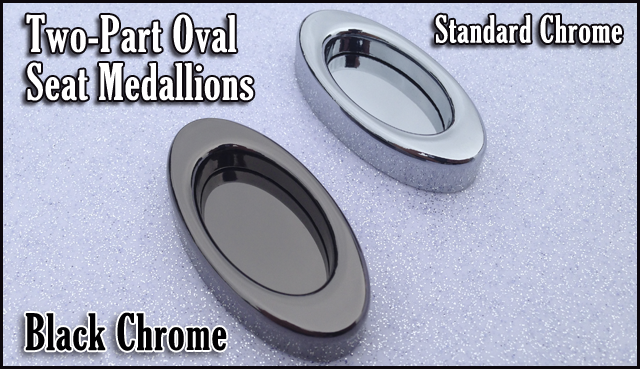 |
Our Two-Part Oval Medallions are available in two finishes. Standard chrome, and black/gunmetal chrome. |
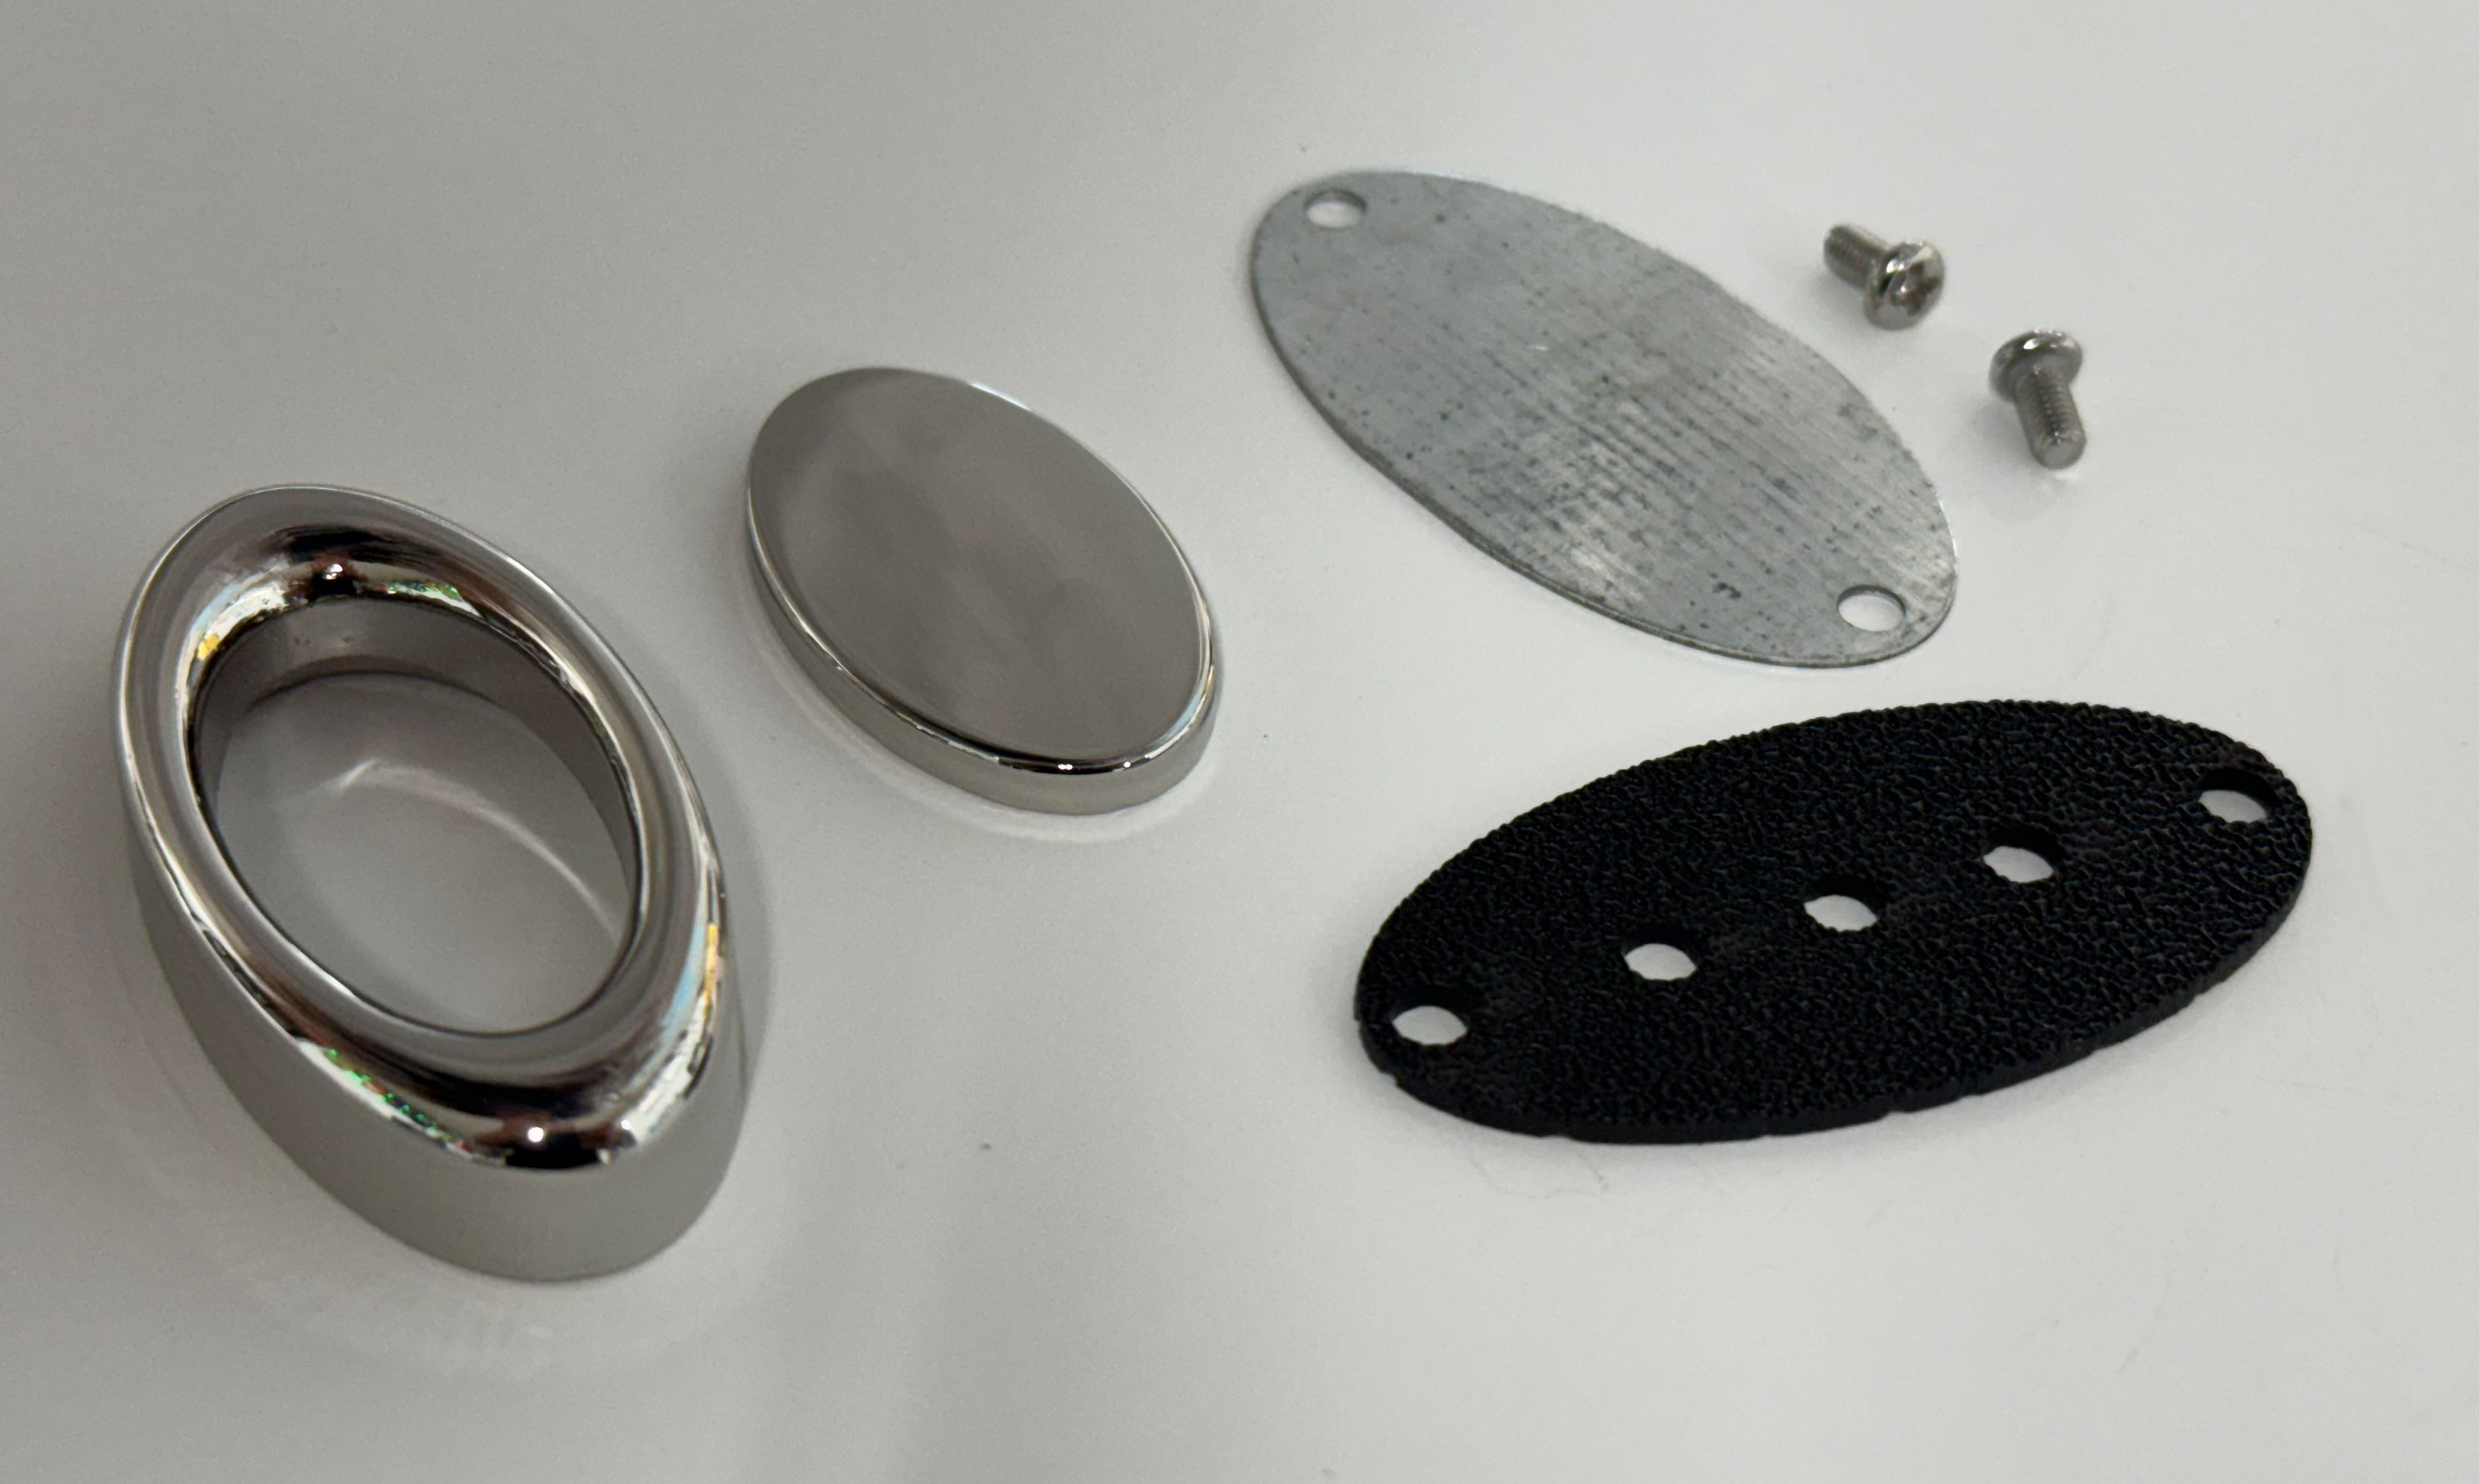 |
Our Two-Part Oval Medallions come with the outer bezel, the inner oval insert, two screws, and backing plate. *BACKING PLATE DESIGN MAY DIFFER FROM THIS PHOTO
|
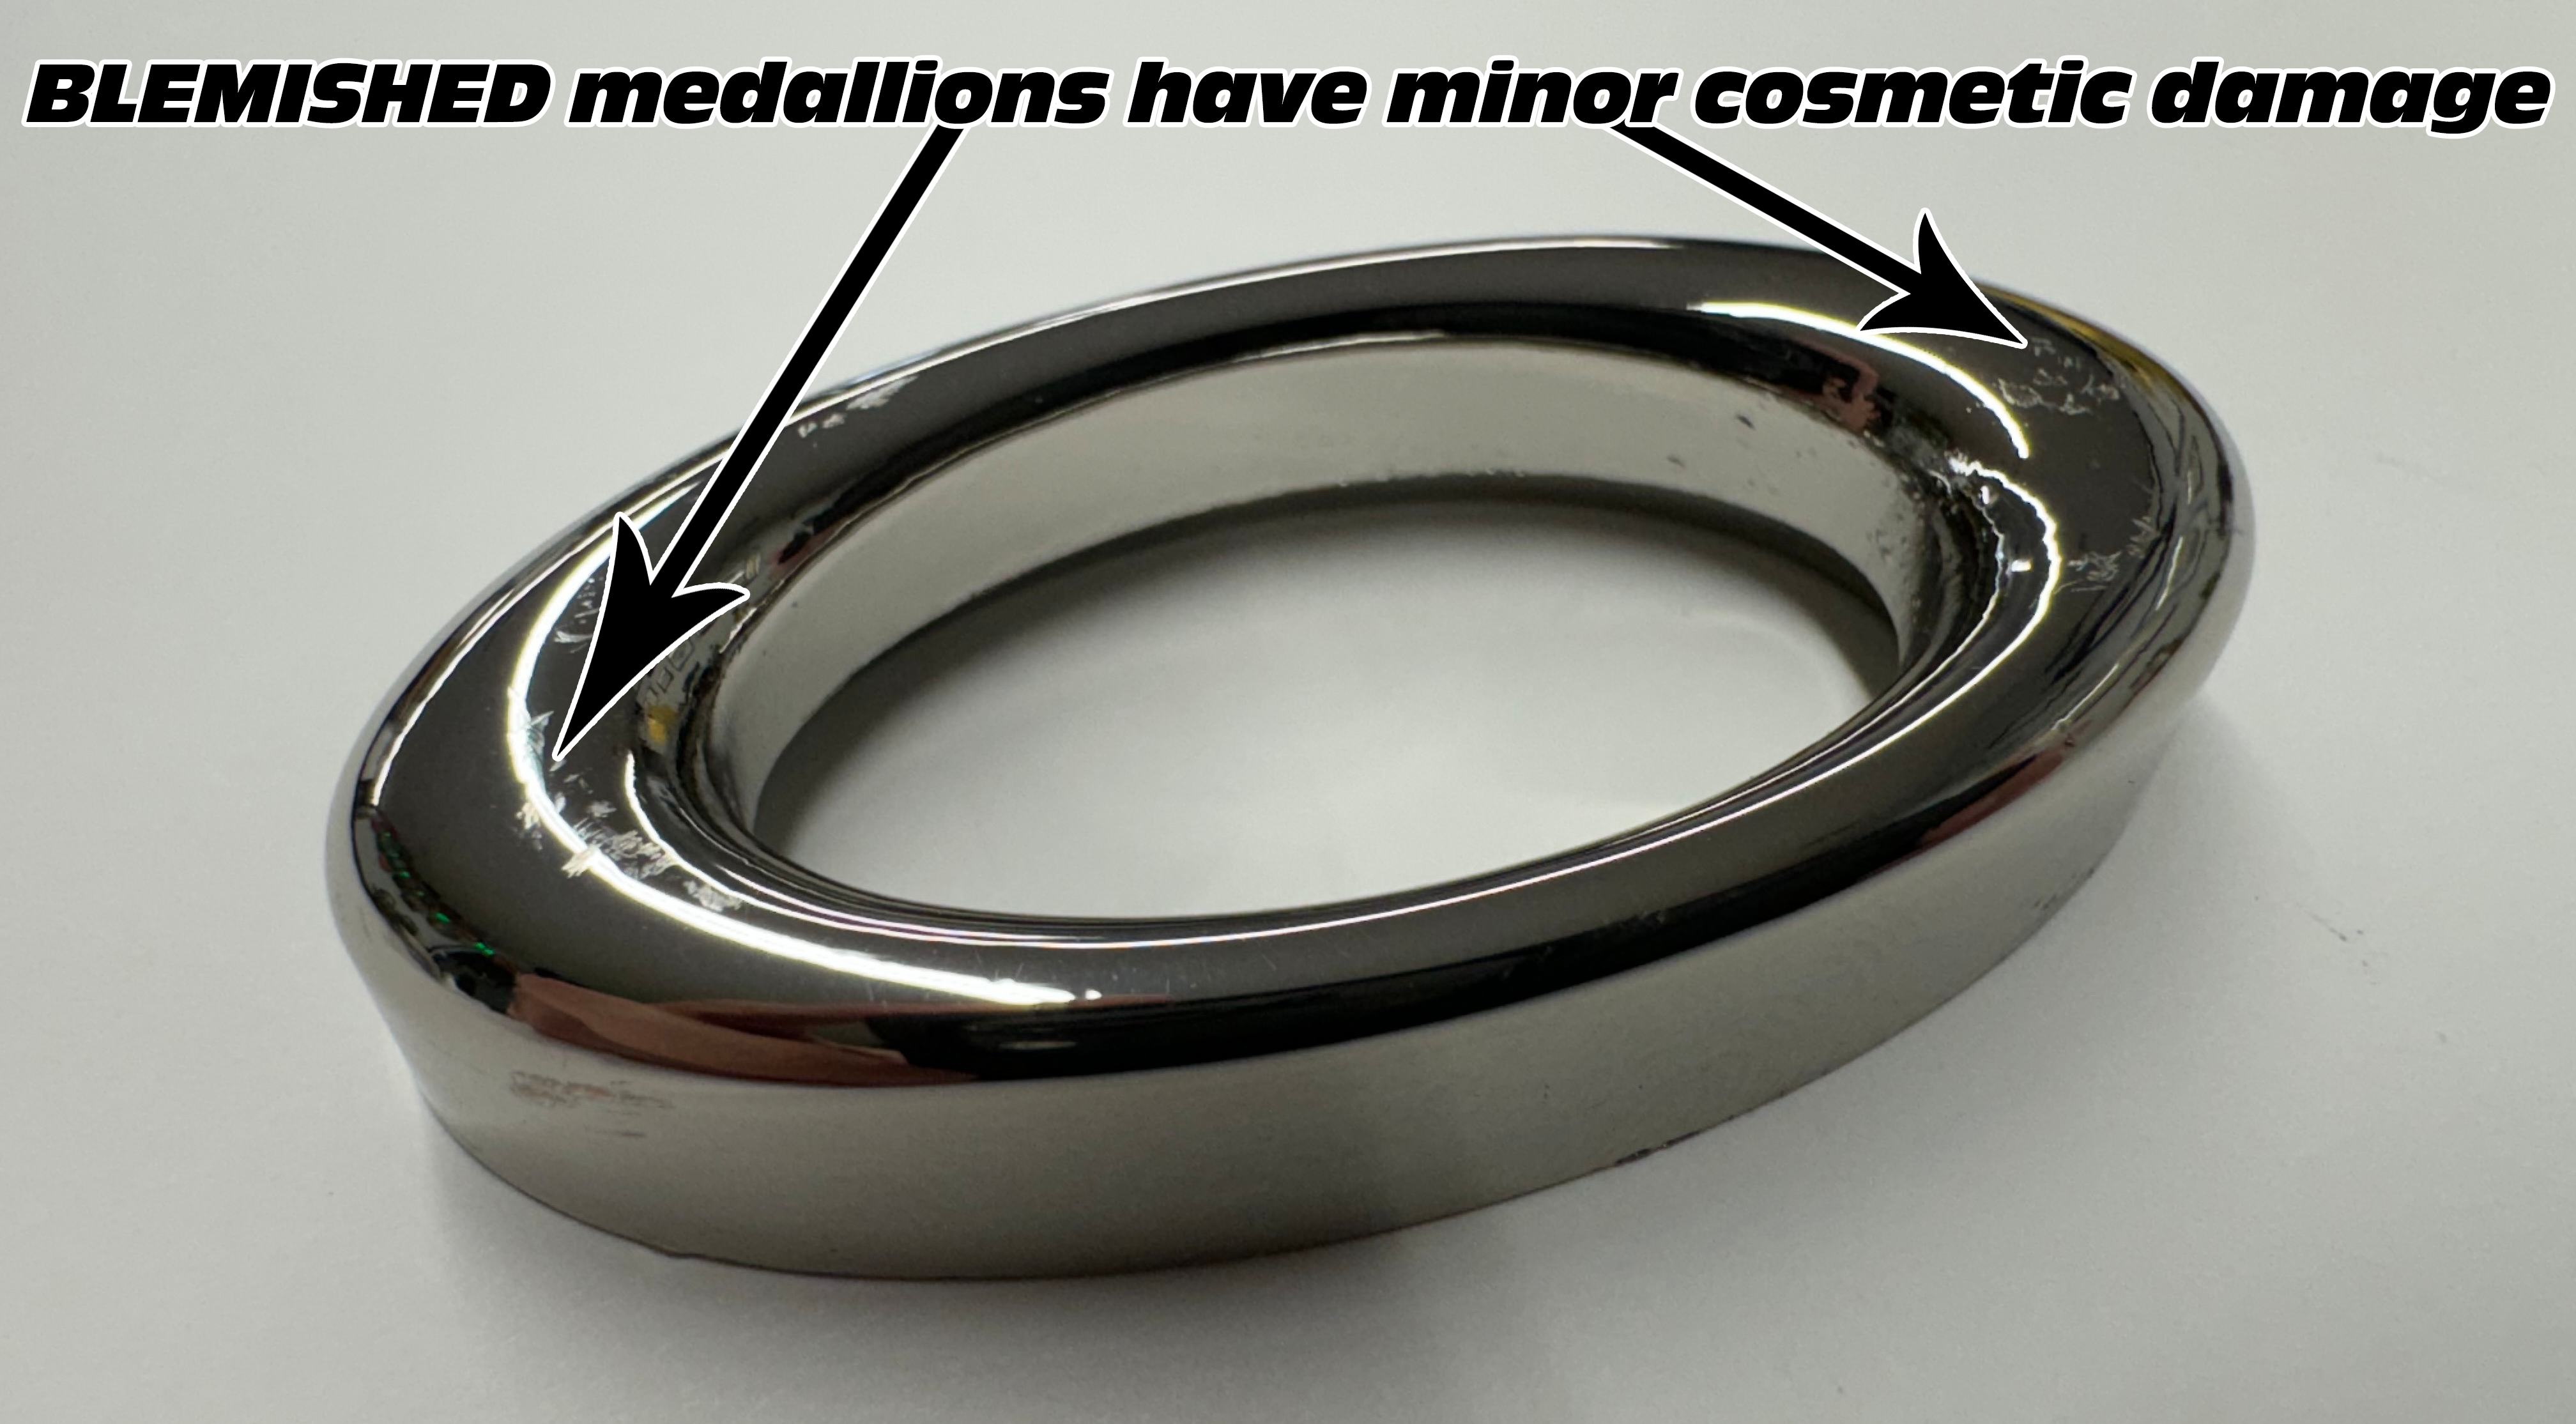 |
Thinking of painting or powdercoating some of our medallions? We had a batch of medallions that got scuffed up in shipping. The medallions themselves are fine, just the plated finish is scratched or scuffed. So, we are selling these blemished ones at a discounted price! |
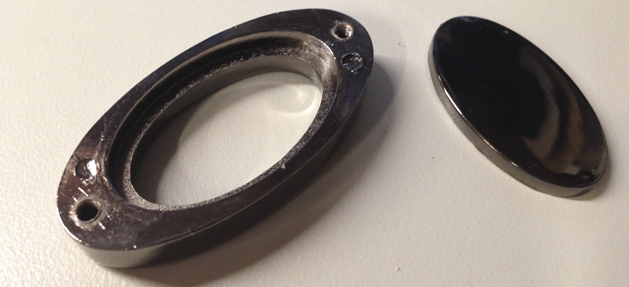 |
The backside of the main oval bezel is shown here. You can see the threaded holes for the screws, and the recessed area that holds the oval insert. |
Our Chrome Two-Part Medallions consist of five parts. The outer chrome bezel, the oval insert, a backing plate, and two screws. Our Two-Part Medallions are 1" x 2" |
|
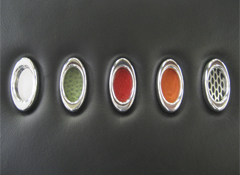 |
Our Chrome Two-Part Medallions are customizable! On the far left, you can see the medallion is used with its standard chrome center. The center three medallions show examples of the oval insert covered with different materials. The medallion on the right has a piece of our Oval Perforated Aluminum trimmed to fit inside the medallion. The possibilites are endless! |
| Installation Tips | |
| First, figure out where you want to mount your medallions. Once you have the right spot located, use the metal plate with five holes that is provided with the medallions as a template. Just mark the position of the outer two holes. *BACKING PLATE DESIGN MAY DIFFER FROM THIS PHOTO |
|
 |
Once the holes are marked, punch out the holes with an 1/8" leather punch. *BACKING PLATE DESIGN MAY DIFFER FROM THIS PHOTO |
| On the metal plate, feed a piece of heavy thread through the two holes that are shown to the left. *BACKING PLATE DESIGN MAY DIFFER FROM THIS PHOTO |
|
| Loop the same thread back through the center hole in the metal plate. *BACKING PLATE DESIGN MAY DIFFER FROM THIS PHOTO |
|
| Now, screw the plate back onto the medallion, with the seat material sandwiched inbetween. The thread coming through the center hole will give you something to pull the medallion from behind with. We use an awl to punch a hole in the seat foam, and feed the thread through the hole in the seat foam. Lightly pull the thread from behind to get that "sunk-in" look. *BACKING PLATE DESIGN MAY DIFFER FROM THIS PHOTO |
|
 |
Voila! |

